Using laser scanning to improve accuracy and productivity in projects
Laser scanning technologies have advanced rapidly in recent years. What was once a slow time-consuming process can now be completed in seconds. Finnish industrial design company Takila OY uses Vertex G4 Plant in design work and analysing point clouds.
*The following case study of Takila Oy has been translated from Finnish. The original case study can be found here: Takila Oy case study
Based in Pori, Finland, Takila Oy provides measuring and design services for industrial investment projects in Finland as well as overseas. Their projects usually take a year to complete and to be handed over to the client.
Large-scale projects require patience, but the advancement which has happened in the development of equipment and software in the last ten years has considerably sped up the progress of Takila’s projects.
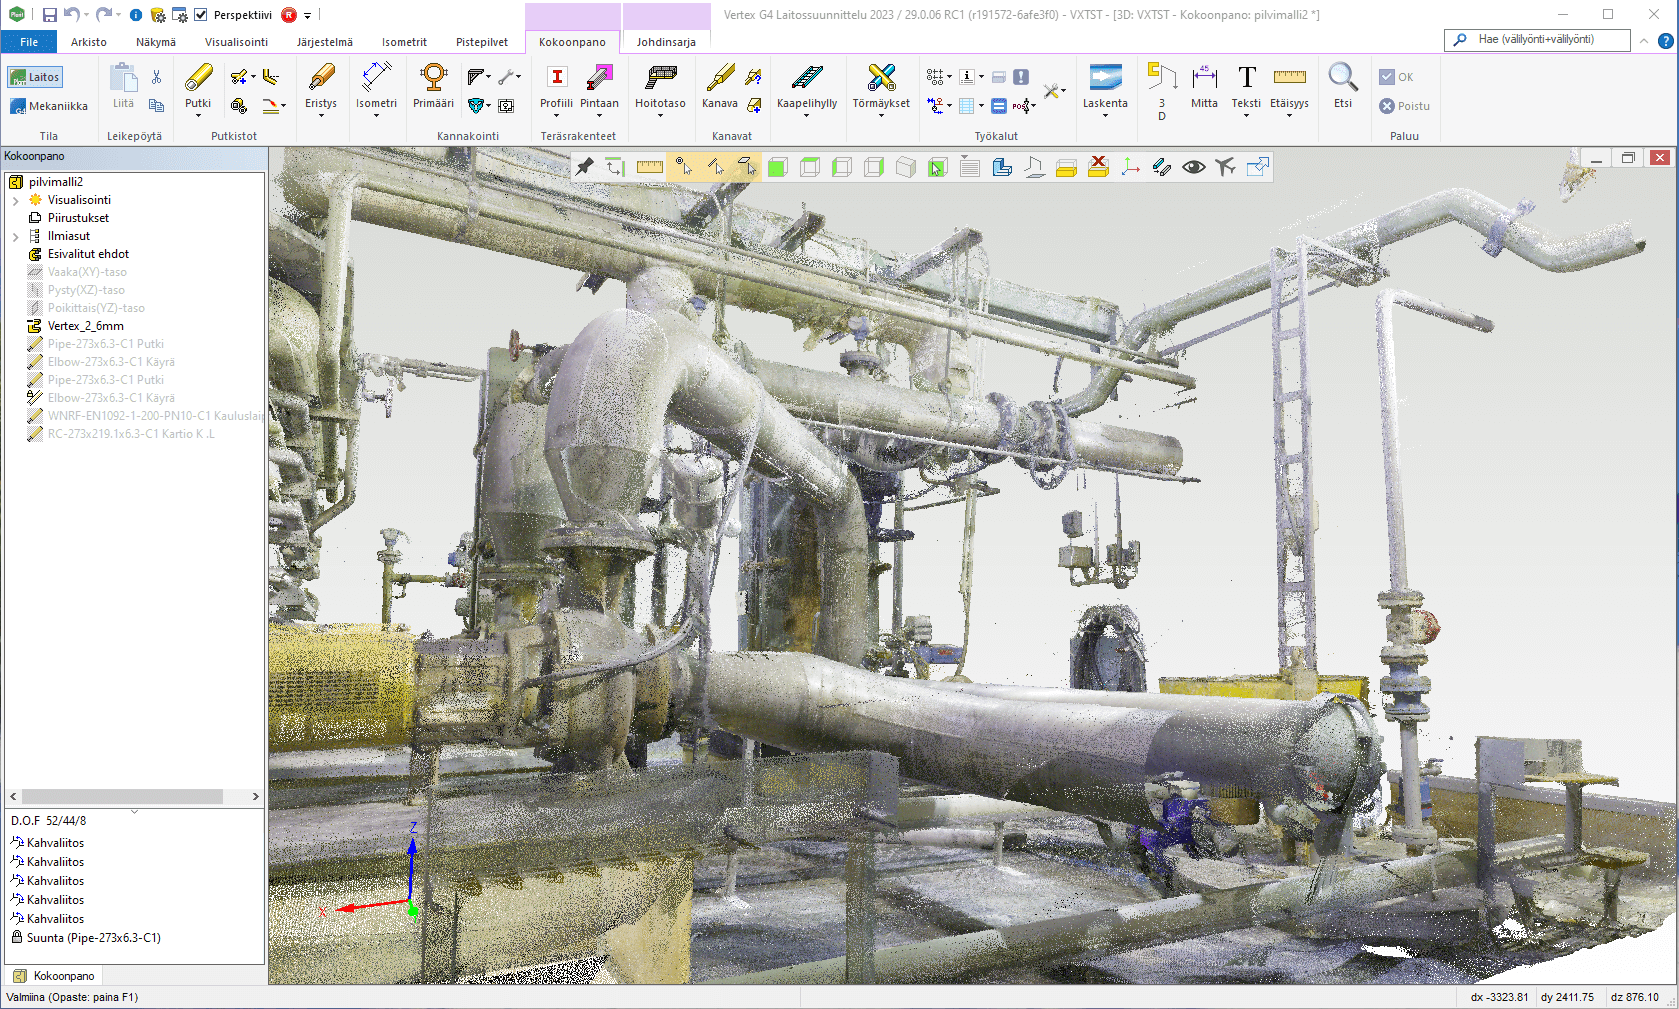
Takila Oy’s chief executive officer Samppa Takala takes full advantage of laser scanning technologies in his work. With laser scanning he is able to acquire important information about the terrain, premises and equipment that is vital for design work.
The advancement in laser scanning technologies has been rapid. Modern laser scanning has come a long way from the slow and time-consuming measurement processes done with earlier scanning devices.
“Forming a single data point used to take three to four hours so we were talking about very long work days to scan a tiny area,” Mr Takala reflects back to his early days with laser scanning. Nowadays scanners can measure up to two million points per second which has shortened the project completion times considerably.
What is a point cloud?
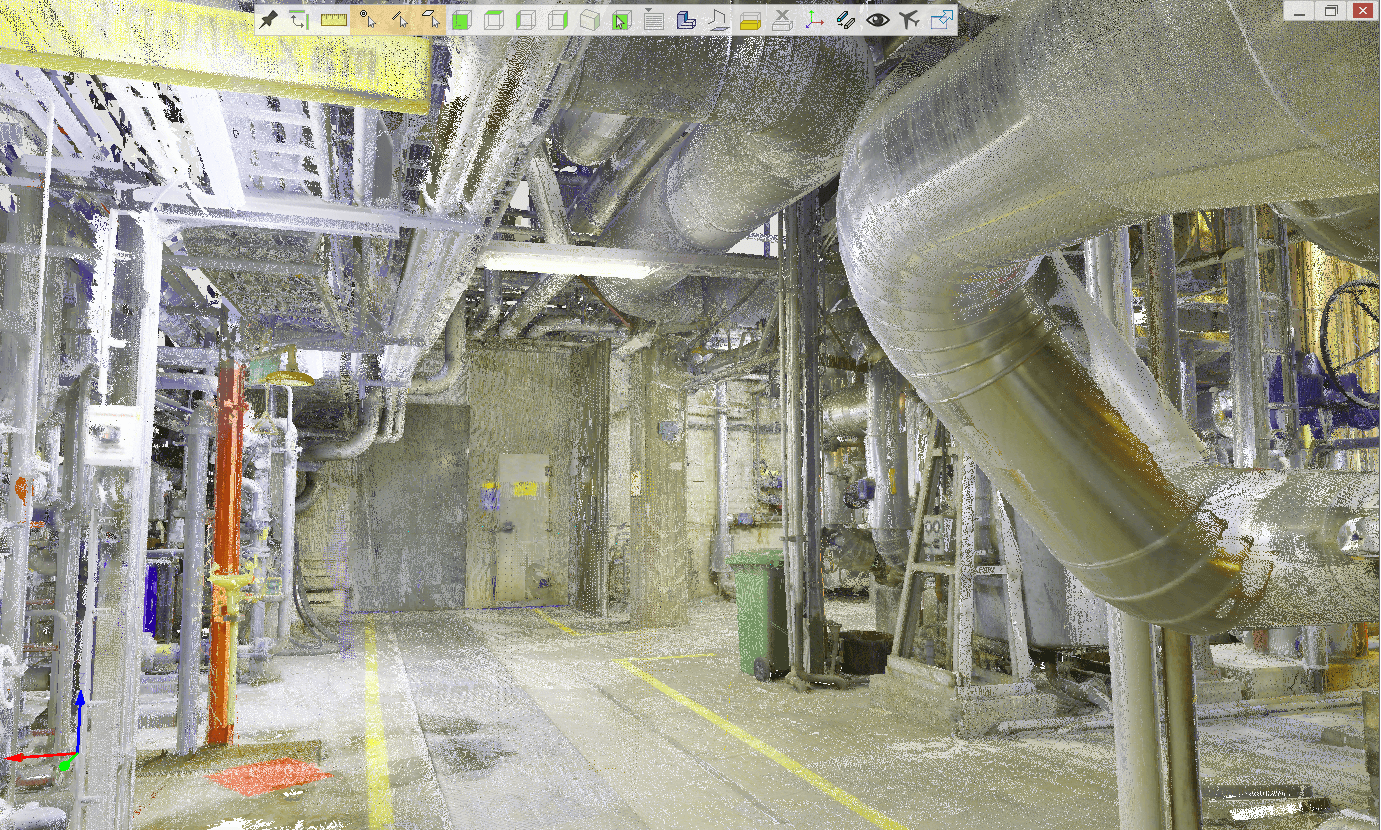
Based on the measurements taken by laser scanning equipment, X, Y and Z coordinates are calculated for each data point setting them in space and creating a point cloud. Laser scanners also measure the intensity value of the laser beam which creates colour, shape and texture for the point cloud.
Photographs of the environment are used alongside of point clouds, giving the data points their correct colours and making the environment look more realistic. Using point clouds in design work enables easier analysis of new observations and integrating them into the design process. With the help of point clouds, problem areas such as collision points can be detected already in the early stages of the project.
Point cloud created by 3D laser scanners is indeed a versatile tool that provides accurate and concrete information for design processes, and helps analysing the environment and detect potential problem areas.
Point clouds assist in design work
Point clouds created by laser scanners provide valuable information for various purposes. At Takila Oy, they are used as a starting point for factory modelling. The point clouds show information about the building as well as the location of pipelines and machinery within the building, providing a basis for modelling. Comparing 3D models and checking how they would fit in the real terrain is also advantageous in design work. Point clouds are also used to take measurements and detecting changes and wear, making it easier to anticipate maintenance needs.
Laser scanning a versatile tool in wear measuring and monitoring slow changes
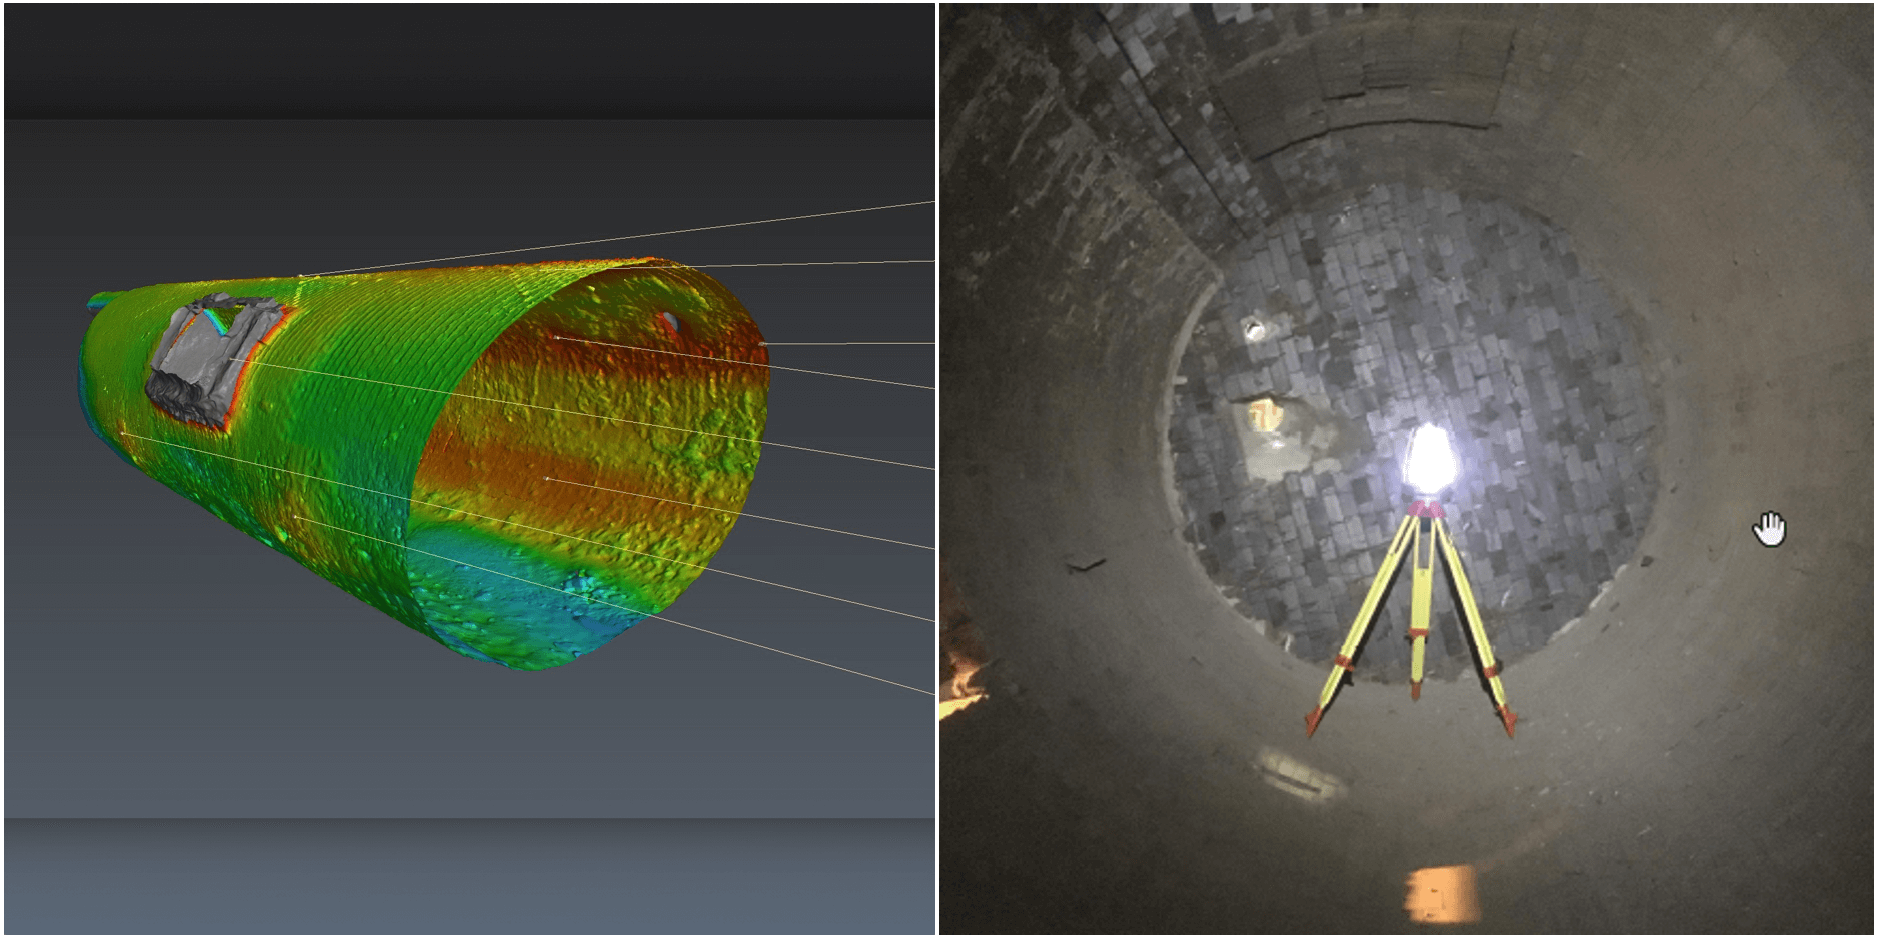
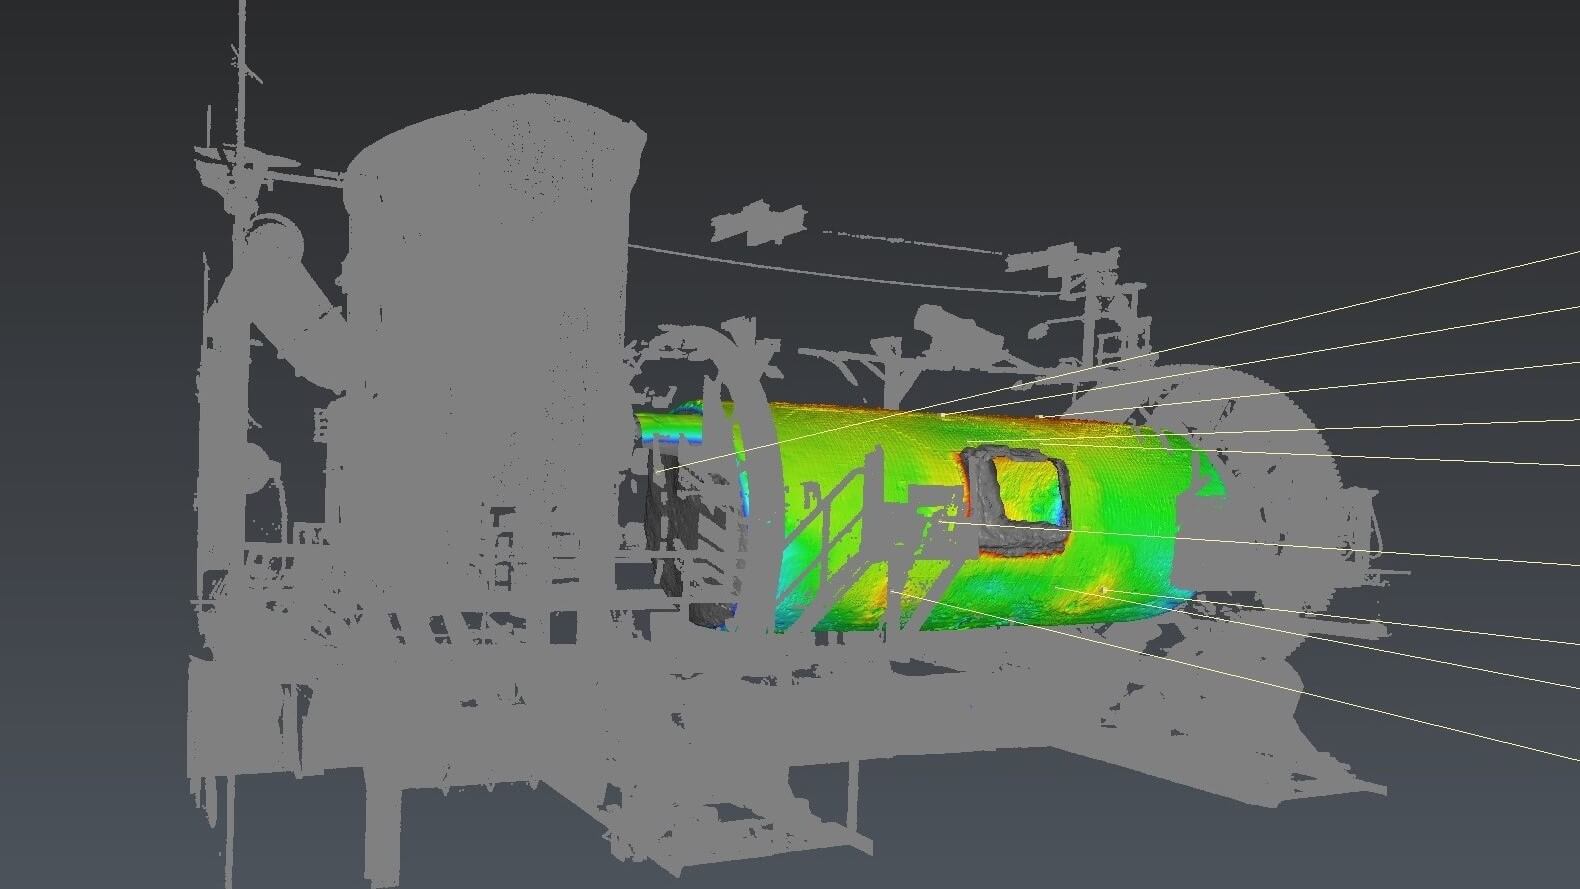
Takila Oy has been utilising laser scanning to measure wear in processing plants, for example measuring and analysing the wear of overlapping old and new masonry layers. Wear measurement results are then used to plan maintenance intervals more effectively. In addition, laser scanning has been used in model comparisons in tight spaces, such as renovating pools and tanks, where collision detection is important. By using laser scanning technology, it can be carefully observed where exactly within the tight space these collisions happen. This has proven to be an excellent tool in design work as well as on site.
Accurate installations on site with the help of 3D scanners
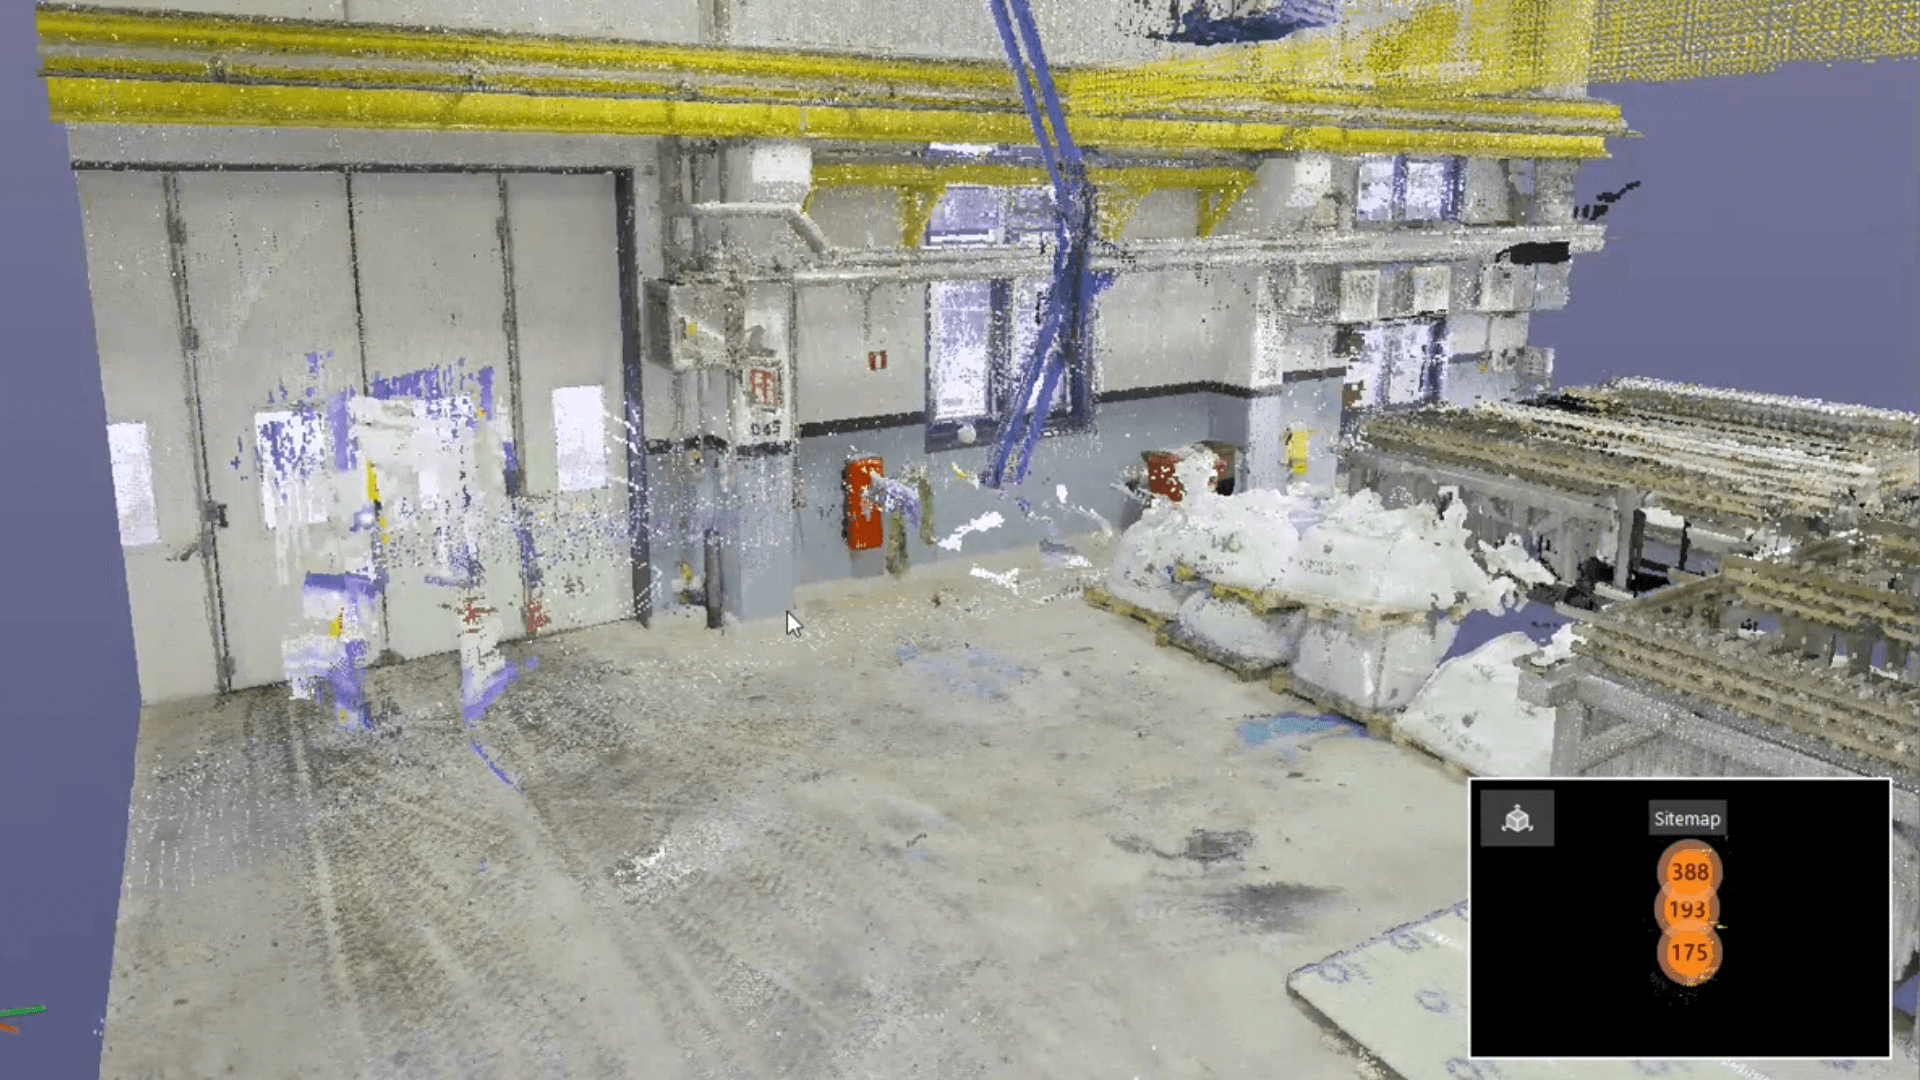
Laser scanning has proven to be a handy tool when dealing with challenging heights on the site. Builders often have to ask at which height each installation should be placed. With laser scanning it is easy to give an accurate location. For example, in pump installations their placement in the X, Y and Z coordinates can be directly determined and measurers can indicate the exact installation location on site without using traditional measuring tools. This means designs and installations match seamlessly. The manufacturing and installation of pipes is more secure when the coordinates are precisely known.
Different equipment for different-sized scanning projects
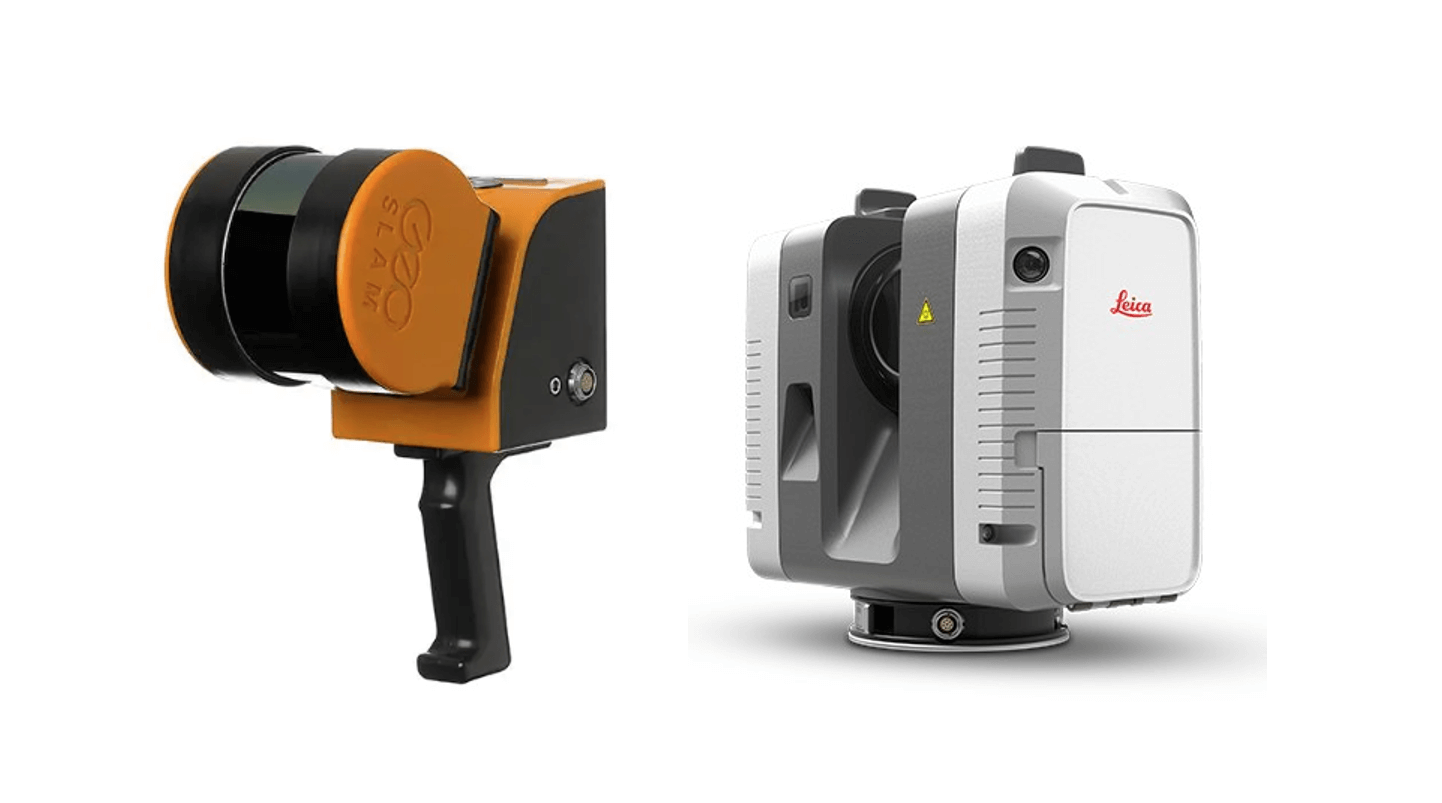
Laser scanning equipment have traditionally been designed to scan large areas, but small scanners have been developed that produce similar information from smaller locations or objects. Small object scanning is particularly useful in reverse design. Modelling and designing the renewed objects is easier when the design software already has the model of the current object.
Benefits of laser scanning
Laser scanning is becoming increasingly significant as the building industry advances technologically. With the help of a point cloud, less mistakes are made in measuring and design, and on-site productivity is improved. It brings considerable accuracy and security in installations which reduces time and costs.
Technology used by Takila Oy and its constantly evolving diversification of features proves how laser scanning can effectively support different areas of industry and improve work processes.
